9.26.2012

more bracelets

Last night I decided to work on more jewelry since I'm currently caught up on sewing projects.  I intended to start a couple of bracelets that my mom requested a few months back, but realized I didn't have the colors she wanted.  So I just used up some blue and green beads I had.


I was going to list them on Etsy, but I think I'll just keep them for now.  I've only sold a couple of jewelry items from my shop so I'm not sure they're all that popular online.  They might sell better in person so I could just try similar ones in the next craft show I do.  And in the meantime it's nice just making something for myself.  :o)

9.13.2012

ironing board cover {plus laundry room reveal}

My parents helped us paint the laundry room earlier in the summer, so this "reveal" is way overdue.  It just took longer than I thought to get everything the way I wanted.  The final touch was a new ironing board cover to pull everything together.


I found several tutorials on Pinterest, but they were all basically the same.  The most tedious part was threading the string through the final product.  And since I used the string and toggle clasp that came with my previous, worn-out cover, all I had to pay for was the fabric (which I got for 50% off...a long time ago).


Isn't it the cutest?  Definitely brightens the place up.


So here's the other DIY stuff I did (and let me just give you a warning...there are no windows in my laundry room and the only source of light is fluorescent, so these pictures aren't the greatest).


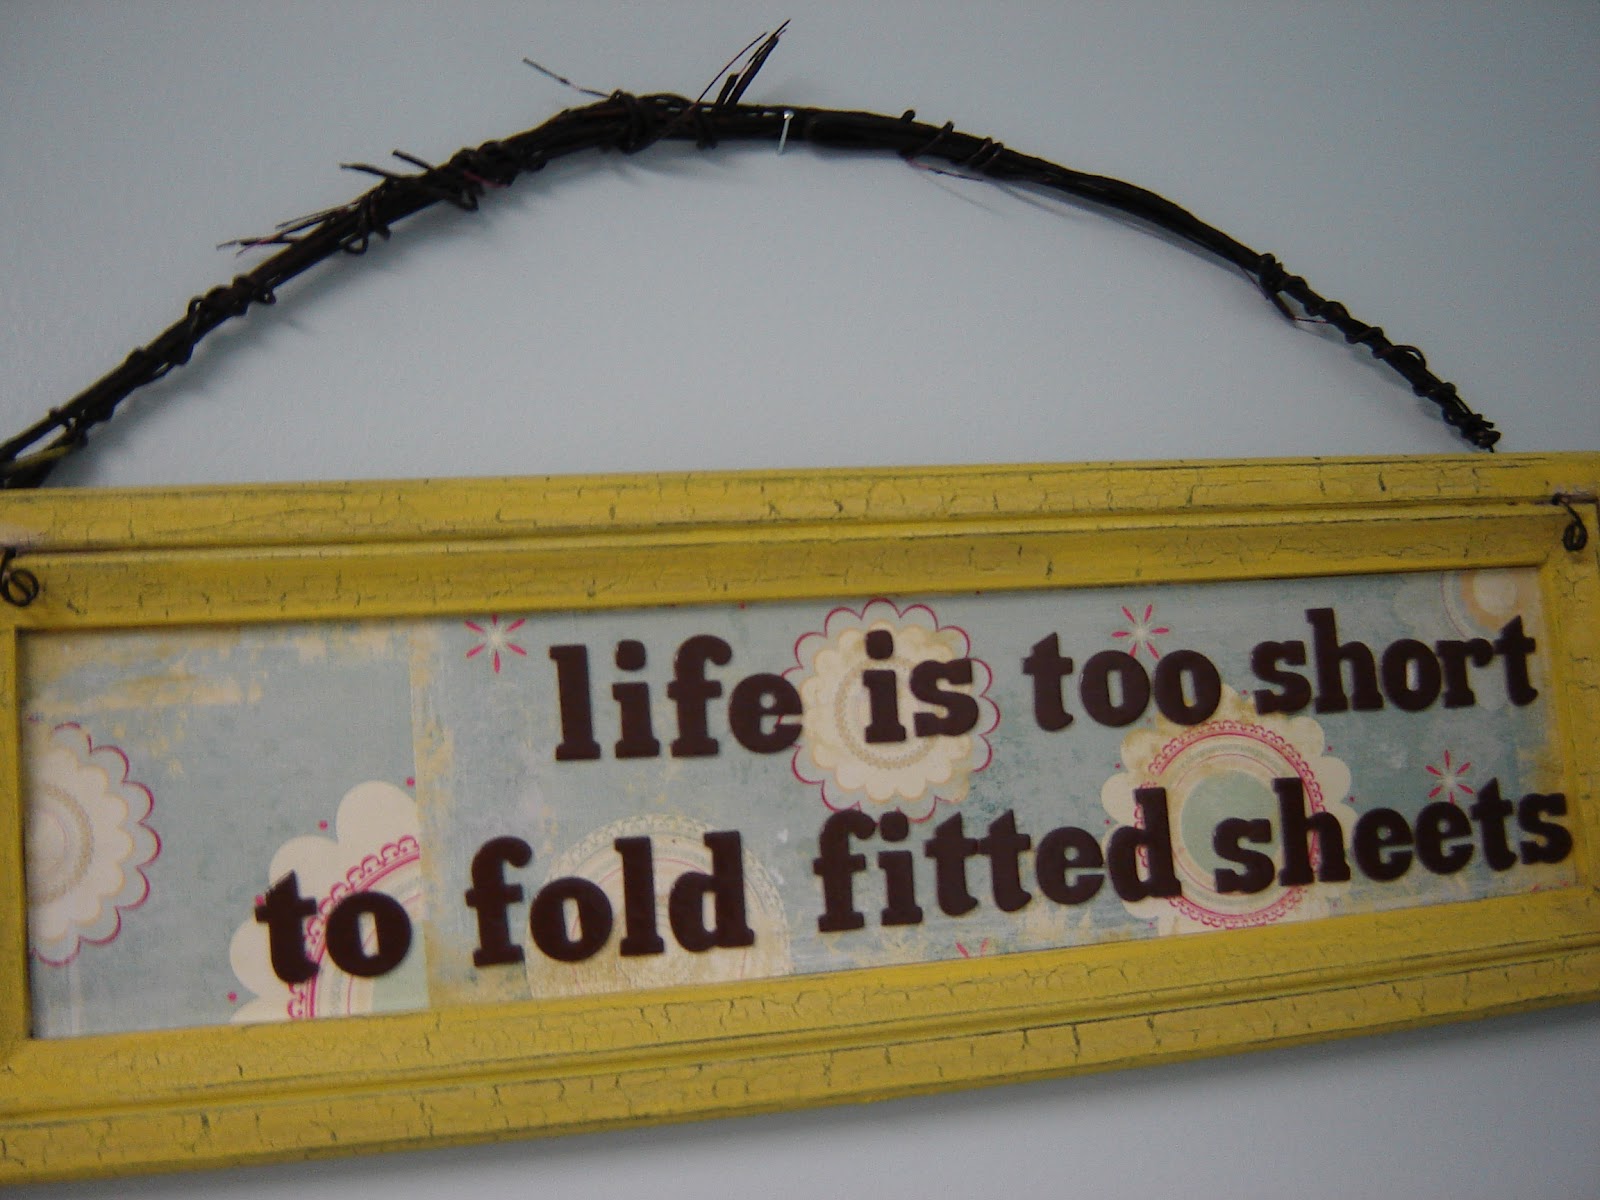
Here's the corner where the ironing and cleaning supplies hang.  The rack for my ironing board has a basket on top that holds the iron and spray starch.  Above the other rack is the upcycled laundry room sign I made awhile back.


And I still love it, crooked letters and all.  :o)


Next, the area we affectionately call "the stockpile."  Just some extra groceries and small appliances that we don't have room for in either the pantry or the cabinets.  The small yellow basket on top is where I throw cleaning rags, cloth napkins, and other dirty items.  And the white dishpan below is where I either soak stained clothes or (in this case) stash clothes waiting to be ironed.  You'd think with the new ironing board cover I'd be more motivated to take care of it.  Oops.  And to the left of all this is a big bucket of homemade laundry detergent.  I've been making my own for about nine months now and it's been working out great!


Next, my husband's grilling tools station.  Why?  Because the tools were too bulky to fit in our kitchen drawers and we didn't want to keep them out on the porch.  I found the rack at Goodwill several months ago and it works great for this.  I just can't figure out what to put in that little pocket on top.  :o)


Next, the other side.  Here's some embroidery hoop art I came up with.


I found the hoops and "check your pockets" hanging on Etsy, and I had the fabric on hand already.


Next, the area above the cabinets.  This used to be a dumping ground for a bunch of random stuff, but after we straightened out the storage room in our garage, we were able to transfer some of it out there.  I got the cute vintage fan on Etsy, the "love is patient" plaque at Target, and the watering can from Goodwill.  The storage bin is an old diaper box I recovered with part of a canvas dropcloth.  It looks like it's fully lined, but it's not; I cheated and just hot-glued hemmed fabric strips all around it.  It currently holds our 12-cup coffeemaker; I love my Keurig, but I bust out this older model for when we have people over.


Just have to show the cute rug I found at Ross last fall...really does wonders to take your attention off the ugly vinyl floor.


And finally, a cute grocery bag holder my mom made for me.  It's made out of the same turquoise fabric I used to fake-line the canvas bin in the picture above. 

Okay, so in case you were curious, that's what my "new" laundry room looks like.  :o)

9.12.2012

pinspired: sock bunny


I have a niece who's about to turn four, and when I asked my sister for gift ideas, she suggested a bunny stuffed animal (something my niece has been asking for repeatedly).  The idea of trying something new appealed to me; as much as I enjoy making all those appliqued shirts and onesies on Etsy, sometimes you just need a new project to break up the monotony.

So I searched on Pinterest and found this tutorial from Lil Blue Boo.  All it takes is a pair of adult knee-high socks, some stuffing, and spare buttons and thread (obviously, you leave off the buttons if making for a baby or young toddler).  I liked that she had pictures for every step too.  Target has really cute knee socks for $2.50 a pair, so I found a purple striped pair for the bunny.


So how'd I do?  Is it cuddly or scary?  :o)  Turns out it's kind of difficult to put stuffing inside of sock material since it stretches so much.  And since my button-sewing skills are horrendous, this is what I have for this little guy's face:


I got a bunch of retro buttons from my mother-in-law when she was cleaning out some of her old sewing supplies; I think the flower-shaped button for the nose makes up for the fact that the bunny technically doesn't have an actual mouth.  As horrendous as my button-sewing skills are, my embroidery skills are even worse, and after all the work I put into the bunny, I didn't want to wreck it at the last step.  :o)

Since I did all the work while Caleb was sleeping, he saw it for the first time today when I took pictures of it...and unfortunately he thought it was for him.


Yep, that's him giving it a kiss.  Sigh.  We took a trip to the hallway where his cousins' pictures are hanging, I pointed to the picture of the birthday girl, and told him repeatedly it was for her and that we were going to mail it to her as soon as I found a box or something.  I offered to make him one too, but you know how much in the here and now toddlers are.  So he's a little sad right now.  But I guess he has to learn that not everything I make is for him!

Speaking of which, I have one project in the works that's for me.  I finally started that ironing board cover...two weeks ago.  But life and Etsy got in the way so it's still folded up in the closet, all pinned up and waiting.  I just need to sew the edges and figure out how to feed the string through, and then hopefully it'll be ready and I can get rid of my yucky old cover.  I've decided I have to make a point to still try sewing and other DIY projects for me once in awhile, since if I just do Etsy stuff for long periods of time I get crabby.  :o)  Thanks for reading!!!

9.03.2012

pinspired: tiered cake pan stand


A few days ago, I finally tried out a DIY I've had bookmarked for awhile: an adorable tiered stand made out of cake pans and candlesticks.  My inspiration can be found on this blog.  The most difficult part was finding cake pan sets in different sizes.  And for some reason, as soon as I decided to be on the lookout for brass candlesticks, I couldn't find them at Goodwill anymore.  EVERY OTHER TIME I've been there, tacky brass candlesticks were always gracing the shelves.  Go figure.

Anyway, I found a set of cake pans on Ebay for pretty reasonable, and got a wooden candlestick at Hobby Lobby and just spray-painted it a cheerful red.  As for the glue, I used that scary E6000 adhesive.  It has warnings all over it, and apparently there's an ingredient in it that was found to cause cancer in California (says so on the label).  But since I don't live in California, I figured the glue couldn't give me cancer so I went ahead and used it.

I kid.  :o)

The gluing went off without a hitch (though it did come with some serious fumes...yuck), and it did hold everything very well.

So here's the stand after I let it dry a day or two:


I think it looks cute.  But it's a little flimsy.  I don't think my pans are as sturdy as the ones used in the original tutorial.  Hers were nice and rustic looking, and just look stronger than the ones I used.  So my stand is visually appealing and does hold stuff, but not very well.  It would be fine to hold stuff if I didn't have to take the items off and put them back on a lot, since it shakes a little every time I mess with it. Oh well, you live and you learn.  At least now I can be on the lookout for something stronger since I know how easy this thing is to put together once you have everything.  It looks really nice in my kitchen even if it's not as functional as I'd like!
Related Posts Plugin for WordPress, Blogger...