Yeah, it's been a month since my last blog post. Sorry. This time of year is just crazy!
My almost three-year-old is really getting into the whole Christmas thing. Or as he says, "Chris-mix." Next year I want to start an advent calendar or Jesse tree tradition with him, but for this year, I decided to try that felt Christmas tree that's been all over Pinterest. Seemed easy enough; cut a big tree out of green felt, then cut out felt ornaments to match. Only thing is, I still haven't gotten to the store to get Command strips, which I've been told not only hold the tree to the wall, but also come off easily without damaging the pant. I tried something similar from Scotch (these poster sticky things), but sadly they didn't do the job. Luckily my kid was excited enough about playing with it on the floor.
He started telling me what the different shapes were, as well as their colors. He ended up carrying them two-by-two to the coffee table and lining them up. Then when I told him it was time to clean up, he carried them back to the tree. It was only after he was in bed when I noticed that he actually put them back on pretty well:
And don't laugh at my ornaments (especially that sad-looking star). I really could have done better, but at the time I just didn't feel like investing more than fifteen minutes into this. :o)
Things are slower in my Etsy shop lately, but that's fine by me. I really like this time of year so in the end I decided it was better to just enjoy it with my family instead of being swamped with orders. I still have some ready-to-ship reindeer shirts available but I don't think I'll be making any custom ones!
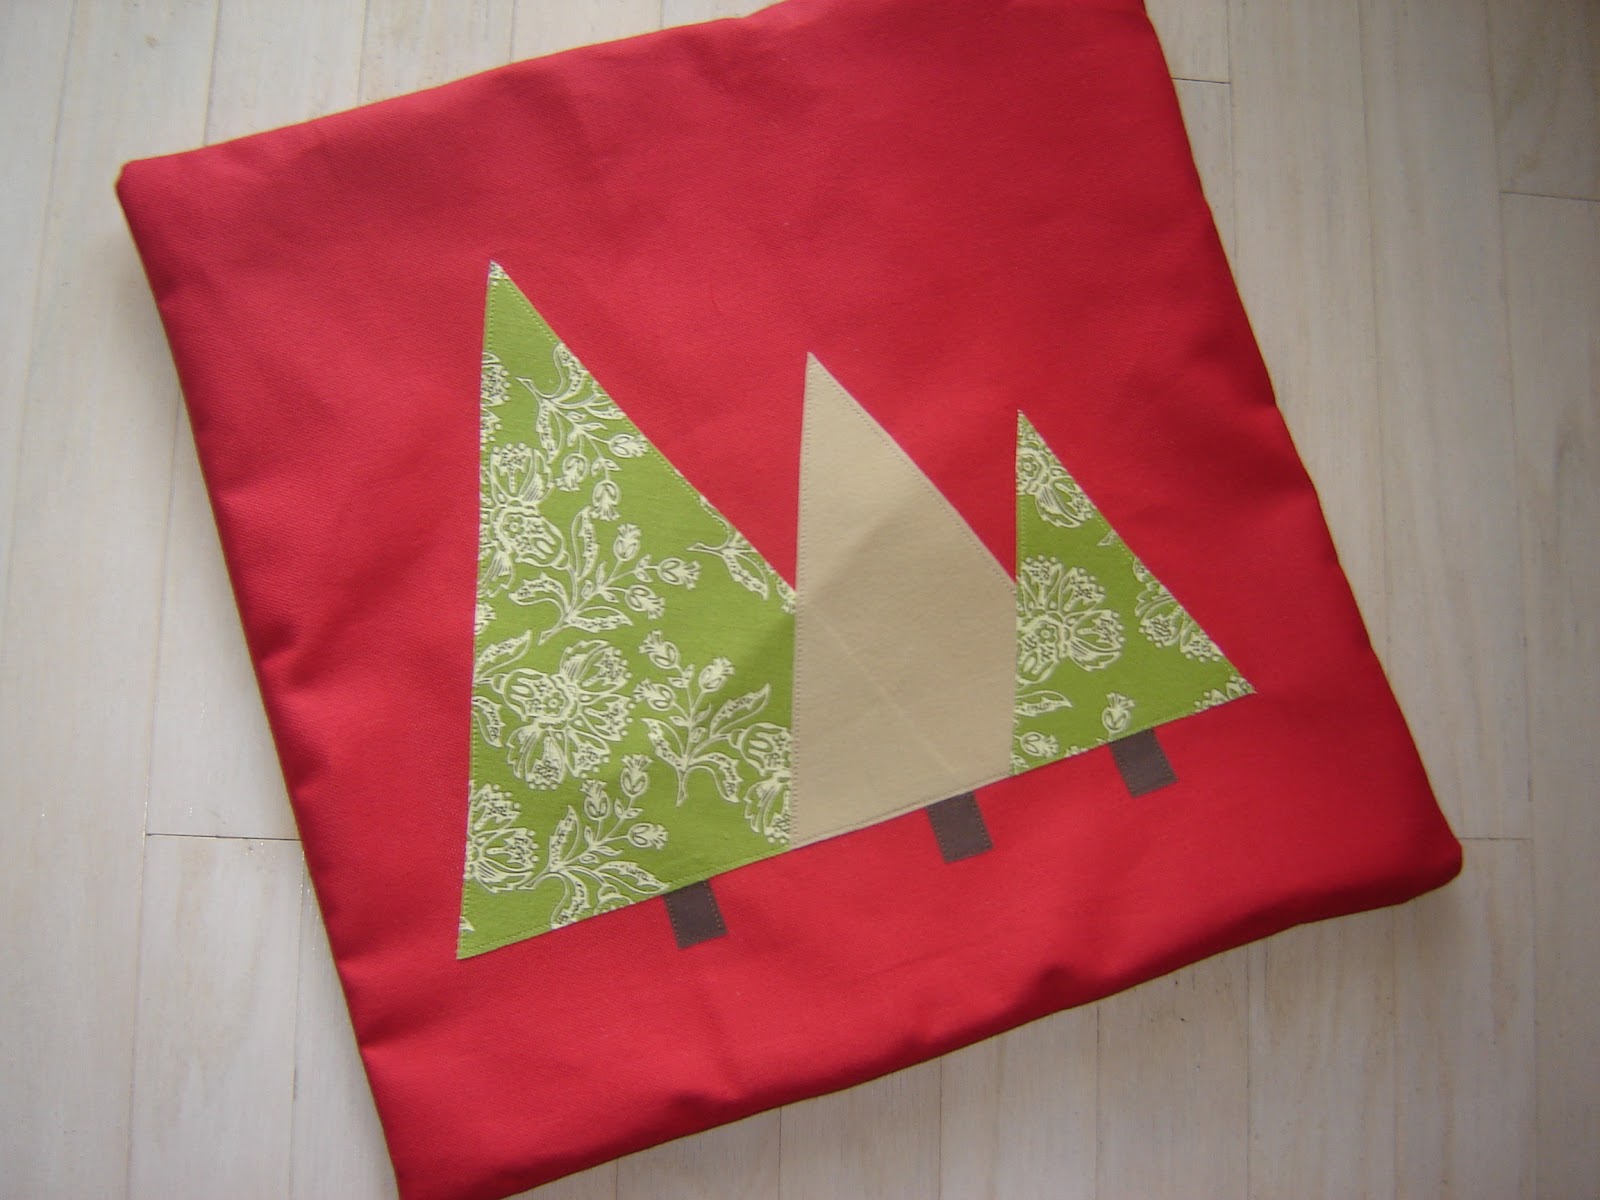
I also had the opportunity to make a custom tree pillow cover for an Etsy customer. She liked the Christmas tree one I did (which incidentally sold last week!), but wanted it in red to match her guest room decor. I was happy to oblige and I really like how it turned out!
And finally, I snagged a couple of Christmas placemats on sale at Kohl's a couple of weeks ago to make cheap and easy throw pillows. I just ripped out a few inches of stitches, stuffed it, and then sewed it back up. I only had enough stuffing for one but I like it!
Might put a little more stuffing in the second one once I get to it. I love the pop of the red and the holly leaves (which make it look like I put WAY more work into this pillow than I actually did!). And my kid loves throwing it off the couch; I swear he must take the term THROW pillow literally. :o)
Showing posts with label christmas. Show all posts
12.11.2012
12.12.2011
christmas crafts: burlap tree skirt
Recently I decided to tackle a Christmas tree skirt. Usually we just put a festive red sheet down since we always get a real tree and we need something to put it on when we bring it in from outside.
A few weeks ago I came across this tutorial for a tree skirt made out of burlap, muslin, and lace. I really liked the look of it, but was nervous about the part with the ruffles since A) I don't like anything too frilly, and I'm sure my husband doesn't either! and B) I am VERY deficient when it comes to sewing ruffles into fabric. VERY. But I bought the burlap and muslin using coupons last week, and as for the lace, I cut up an old window treatment that the previous owners left in our guest room. I cut out 8-inch strips last night, as well as the muslin tree skirt base.
Then this morning I found this tutorial on Pinterest. I really liked the smaller ruffles on it and the great contrast the pretty red fabric strips gave. Most of all, I LOVED that it was no-sew. Just tons of hot glue! I knew I had plenty of burlap to do this, but I didn't really want to go out and buy more fabric, and I didn't really have any on hand that would work (trust me, I looked. I have one-yard fabric pieces and remnants coming out of my ears, but that seems about it at the moment!). So I decided to morph the two tutorials together.
I used the tree skirt base and the 8-inch layers of fabric I had already cut out. I started with a burlap layer placed a half-inch above the edge of the base's edge, then put the subsequent layers two inches above the preceding layers. Took about two hours and tons of hot glue. I also took a tip from the first tutorial and applied a layer of Mod Podge to the edges of the burlap layers to stop them from fraying. I like the look of a little fraying, but not a ton!
The result? Not bad. I like that it's not too ruffly, but I think it's a little plain. I'm glad we have that red sheet underneath to give it a little punch. Plus my top muslin layer didn't ruffle as much as I'd hoped. But overall I think it has a nice effect, and this way we can still check the water level and water the tree without moving it around.
I think if I give this another go for next year, I'll try to find an actual tree skirt on clearance after Christmas to give myself a sturdier base to work with. The muslin was flimsy and moved around a lot. I'll also use shorter ruffles since 8-inch strips are harder to work with (especially with the burlap!), and finally I'll use red fabric with the burlap to give it more contrast.
Or maybe this skirt will grow on me as the season goes on and I won't want to change a thing. We'll see!
Tags:
christmas,
fabric,
home decor,
hot glue,
mod podge
12.06.2011
christmas crafts: repurposed door hangings
So I wanted something Christmasy to hang on our front door...so I took the simple wreath that was hanging there all fall, added a 50-cent bow from Michaels to it, and hung up a tree ornament inside of it.
Not too shabby. You can't see it very well from the road, but I'm sure it looks cheerful to anyone who comes up to our door! I might do something more elaborate if I come across something else, but this will do for now.
Most of the time we use the door off of our garage, so I wanted something there too. Last year I made this Christmas card holder out of a picture frame, but now that my kid is walking around and can reach it with no problem I knew that it wouldn't work anymore (not to mention being in a box all year made that upholstery strip really wrinkled!).
So I cut the strip off and hung it on the door.
Not too shabby. You can't see it very well from the road, but I'm sure it looks cheerful to anyone who comes up to our door! I might do something more elaborate if I come across something else, but this will do for now.
Most of the time we use the door off of our garage, so I wanted something there too. Last year I made this Christmas card holder out of a picture frame, but now that my kid is walking around and can reach it with no problem I knew that it wouldn't work anymore (not to mention being in a box all year made that upholstery strip really wrinkled!).
So I cut the strip off and hung it on the door.
So I spent around $2.50 for one door, and nothing for the other door. That works for me.
12.05.2011
christmas crafts: cheap homemade ornaments
So last week I stocked up on some cute Christmas tree ornaments at Michael's since they were all 50% off. That meant most of them ran me around 2 or 3 bucks each. Not bad! I wanted to get some that weren't breakable in case they fell off the tree or my toddler disobeyed a direct order and touched the tree...that and after being married for four Christmases, my husband and I still don't really have any ornaments to call our own. I'm thinking I care more about this than he does. :o)
Anyway, I really liked all of the ornaments I got but there were some gaps in our tree and I didn't know if I could get back there any time soon to get more ornaments, so I made some of my own instead.
All of the store-bought ornaments I found are vintage-ish looking, with burlap or bronze looking accents. So I wanted to make some that coordinated with that. I noticed my leftover cinnamon sticks from this project fit the bill, so I tied three of them together with Christmas ribbon I had one hand and then ran an ornament hook through the back. I liked it so much I got another bag of cinnamon sticks from Hobby Lobby to make more. While I was there I saw some painted jingle bells that also looked cute, so I got three packages of six and tied them together with twine.
The packages of cinnamon sticks and jingle bells were $1 each on sale at Hobby Lobby, so I ended up getting eight cinnamon stick ornaments for $1 and six jingle bell ornaments for $3. Love it. I also made an inexpensive tree topper out of a cardboard ornament; I painted it with acrylic paint I already had on hand so this one cost less than a dollar. I'm not a fan of big, gaudy angels or other stuff on top of trees, so this looked better to me.
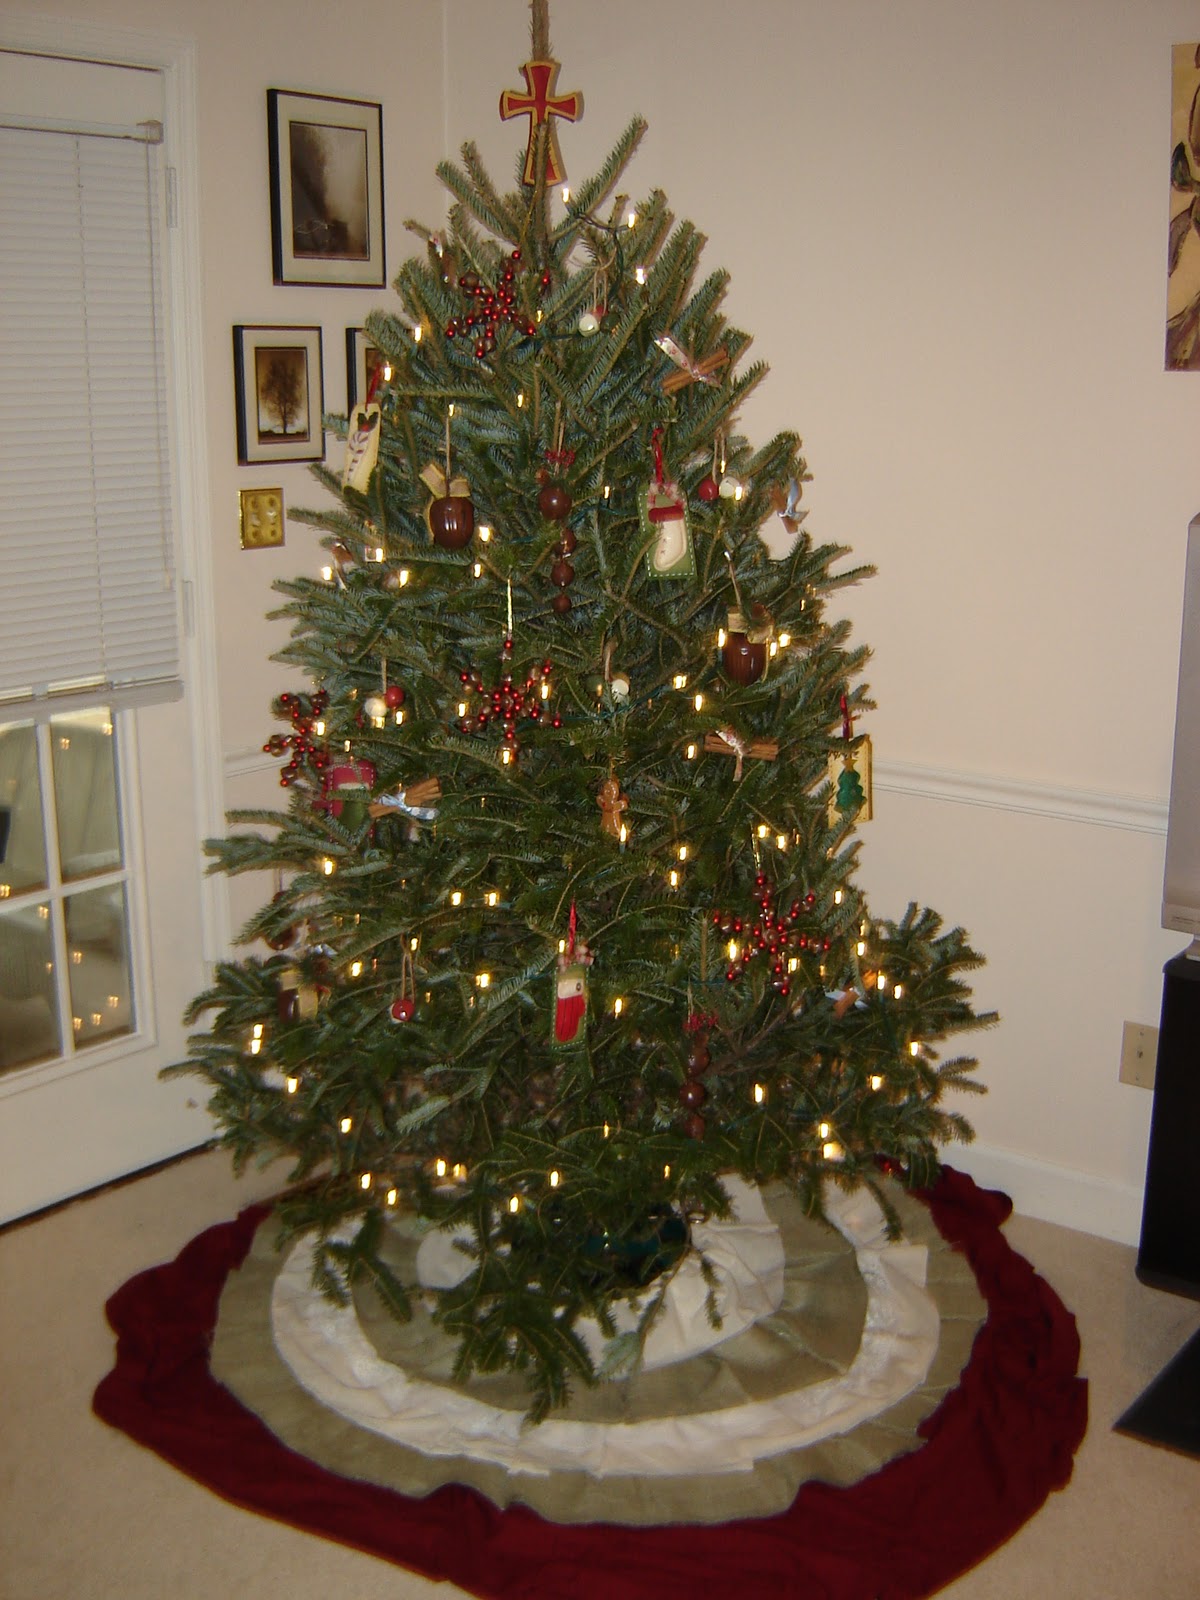
Here's our Christmas tree! I really like all the ornaments on it and am looking forward to using them for years to come. :o)
Anyway, I really liked all of the ornaments I got but there were some gaps in our tree and I didn't know if I could get back there any time soon to get more ornaments, so I made some of my own instead.
All of the store-bought ornaments I found are vintage-ish looking, with burlap or bronze looking accents. So I wanted to make some that coordinated with that. I noticed my leftover cinnamon sticks from this project fit the bill, so I tied three of them together with Christmas ribbon I had one hand and then ran an ornament hook through the back. I liked it so much I got another bag of cinnamon sticks from Hobby Lobby to make more. While I was there I saw some painted jingle bells that also looked cute, so I got three packages of six and tied them together with twine.
The packages of cinnamon sticks and jingle bells were $1 each on sale at Hobby Lobby, so I ended up getting eight cinnamon stick ornaments for $1 and six jingle bell ornaments for $3. Love it. I also made an inexpensive tree topper out of a cardboard ornament; I painted it with acrylic paint I already had on hand so this one cost less than a dollar. I'm not a fan of big, gaudy angels or other stuff on top of trees, so this looked better to me.
Here's our Christmas tree! I really like all the ornaments on it and am looking forward to using them for years to come. :o)
12.01.2011
christmas crafts: pillow slipcovers
Last night I made a few Christmas-themed slipcovers for our throw pillows. The one above is a replacement for my fall leaves pillow I made several months ago:
Bye, pretty leaves. See ya next fall.
I also made these ornament ones to cover a couple of smaller throw pillows:
But sadly I measured wrong somewhere along the line and they ended up too small. I still like them even though they look vaguely like those cannonballs with the fuses at the top you used to see in old cartoons all the time. But as my husband pointed out, that's what glass tree ornaments look like anyway! I might make a couple of VERY simple pillows so these slipcovers can be used this holiday season.
Total cost for this project: Zero dollars. I had everything on hand already. That huge canvas dropcloth I got months ago turned out to be a great investment for stuff like this. It frays horribly once you cut it and it smells like a musty tent if you iron it with steam, but once everything comes together it makes some really cute stuff for a great price.
Linked up to Creations by Kara and A Little Tipsy!
Tags:
applique,
christmas,
fabric,
home decor,
sewing
11.29.2011
more christmas shirt designs
With a craft sale coming up in a week and a half, I decided to make a few more Christmas shirt designs for customers to choose from. I've come up with the following prototypes!
I'm really liking how these are coming together....stitching around the small initials takes some patience, but I really like personalizing stuff to make it that much more special. :o)
11.28.2011
christmas crafts: bespectacled rudolph shirt
For a sweet little girl who wears glasses.....the "bespectacled rudolph" shirt!
Yes, I said "bespectacled." It's a word, I checked. :o) Hope she likes it!
Linked up to Creations by Kara!
11.25.2011
christmas crafts: cinnamon stick candle holder
Well, it's the day after Thanksgiving, which means I can officially start decorating for Christmas. Yep, I'm one of those purists who believes in celebrating one holiday at a time! So today during naptime while the hubby was out playing tennis, I turned on some Christmas music and fired up the glue gun.
I had this craft project in mind the last time I went to Hobby Lobby, so I already had everything I needed. And I was in luck, since at the time all Christmas decor stuff was 50% off, as well as all the glassware!
Turns out that the cinnamon sticks I got were the perfect length for the sides of my candle holder, so I didn't have to cut any of them. I just made sure all of them were flush with the bottom so the candle holder would still sit flat. And I ended up using almost all of the sticks in both bags, with maybe eight leftover. So within about ten minutes, I had this!
I used some leftover single-fold bias tape for the bow, but some pretty Christmas ribbon would look great too. And I'm seeing now in the picture that some of it is twisted in the front, so I should go fix that. As well as remove all remaining hot glue strings. I hate those things. Next time I make one of these, I'm going to glue from top to bottom so all the glue strings I forget to tear off will get hidden by the bottom anyway. :o)
I've got some more Christmas ideas in mind, plus a few more shirt designs, so stayed tuned!
Linked up to Creations by Kara!
Subscribe to:
Posts (Atom)