Showing posts with label jewelry. Show all posts

9.26.2012

more bracelets

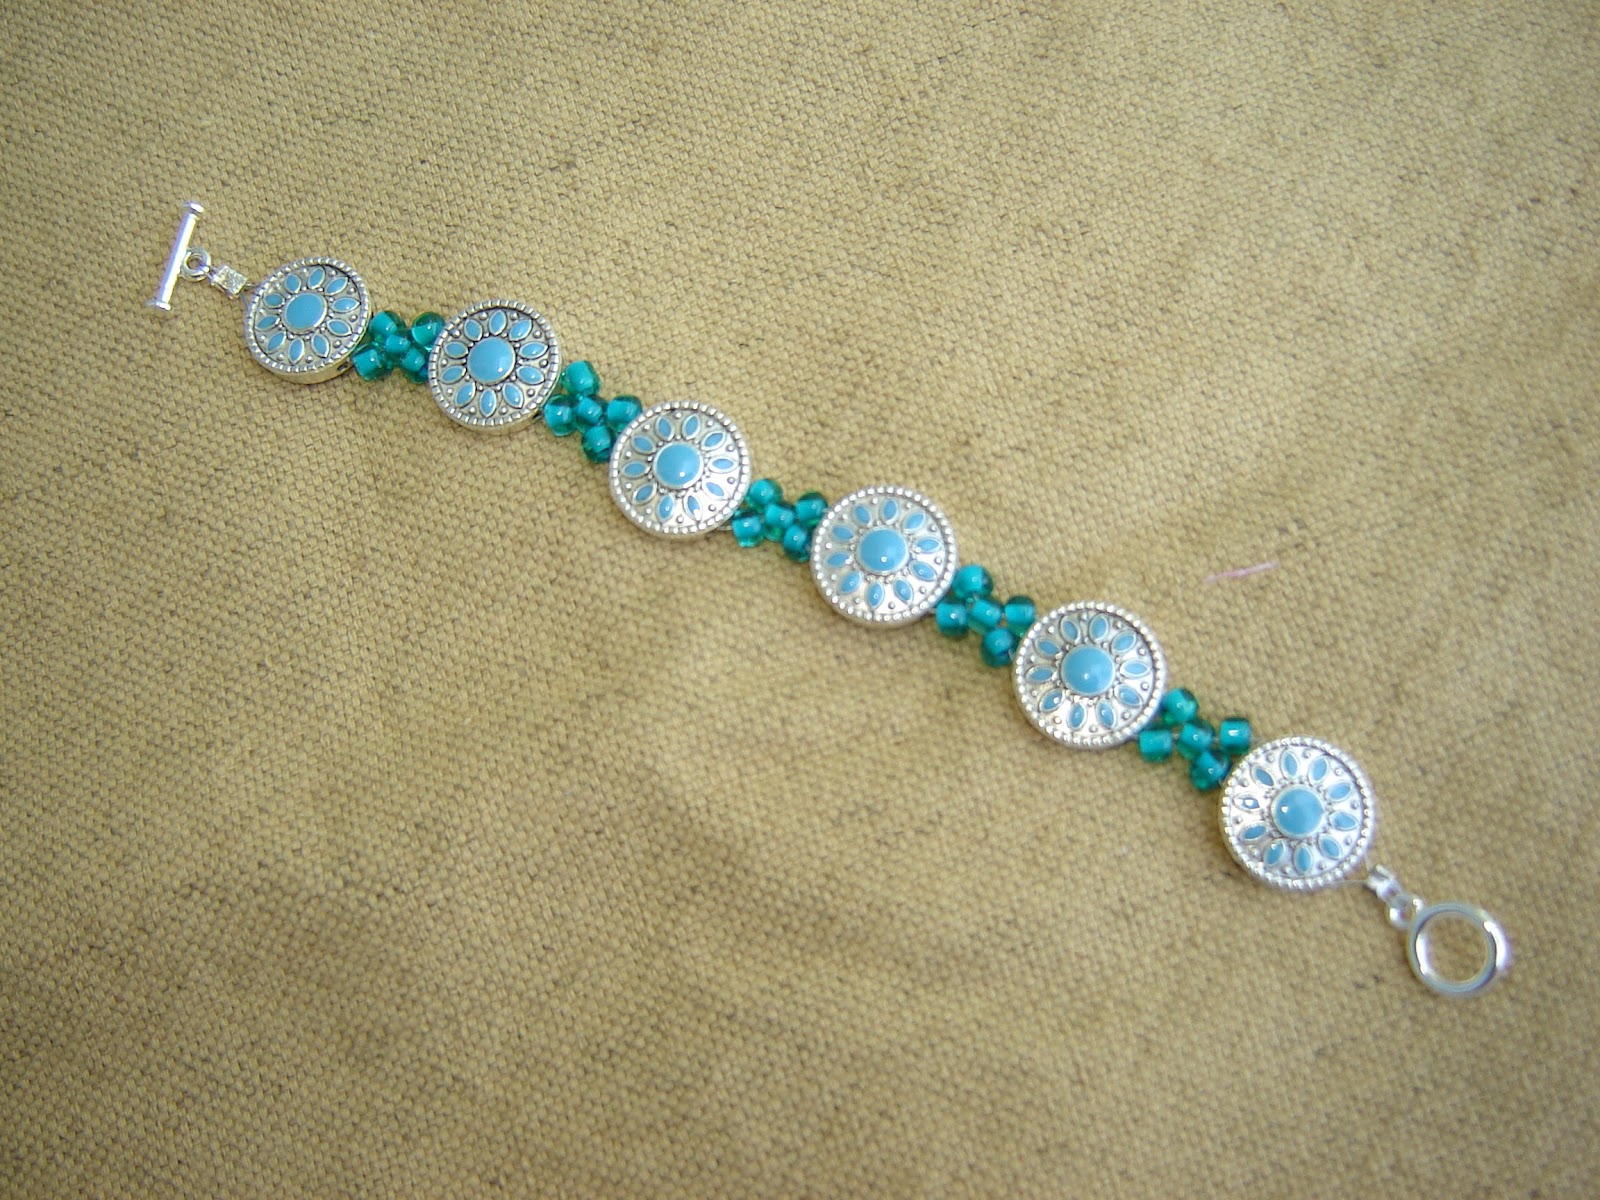
Last night I decided to work on more jewelry since I'm currently caught up on sewing projects.  I intended to start a couple of bracelets that my mom requested a few months back, but realized I didn't have the colors she wanted.  So I just used up some blue and green beads I had.


I was going to list them on Etsy, but I think I'll just keep them for now.  I've only sold a couple of jewelry items from my shop so I'm not sure they're all that popular online.  They might sell better in person so I could just try similar ones in the next craft show I do.  And in the meantime it's nice just making something for myself.  :o)

2.27.2012

a little of this, a little of that

Here's a mishmash of little projects from the past several days:


A pair of pillowcase dresses for a pair of cute sisters.  :o)


A pair of bracelets for my Etsy shop inventory.


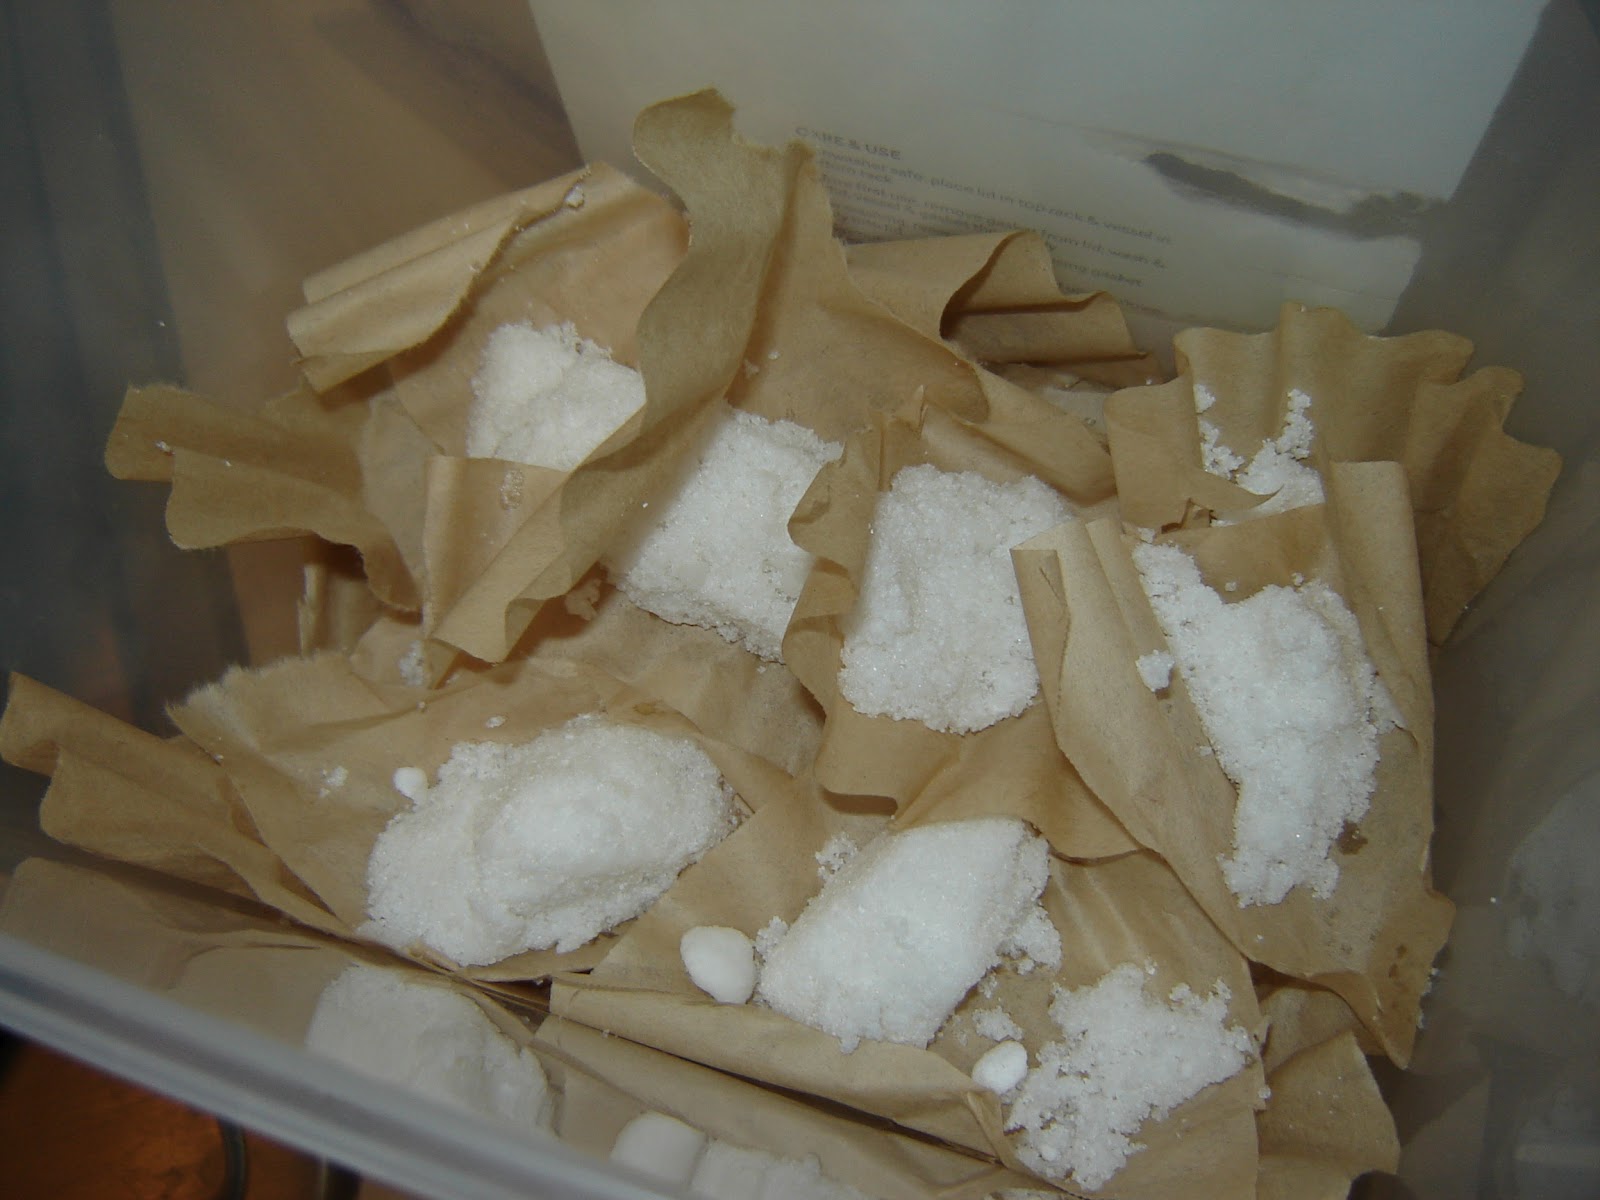
And last but not least, DIY dish detergent packets. I know, random, right?

I got the recipe and instructions from this blog.  I'd been using homemade dish detergent for about a month now, and while I was pretty satisfied with the results, I hated how much it clumped.  No matter what I tried, the citric acid made the mixture so hard it was difficult to scoop out.  But citric acid is a must if you have hard water like I do, so I decided that if the detergent was going to clump, I might as well make a batch and form it into individual packets.  Turns out it's not that much more work...you just spritz the mixture with water until it resembles damp sand, and then mold it into tablespoon-sized portions.  I used cut-up coffee filters to lay the mounds on, and after they dried for an hour or so, they were ready to go in the container.  The ones on top ended up kind of messy, but they still hardened very well.

So how do I feel about homemade dish detergent?  I'm still on the fence.  I feel like in some ways, it cleans better than the store-bought stuff I used to get (adding white vinegar to the rinse aid dispenser has also helped tremendously).  But with my plastic items (especially the valves to my son's sippy cups), I've noticed they don't get as clean.  However, I'm thinking the hot water in the dishwasher should sanitize everything well enough, which is really what I'm concerned about.  So I'll keep using this homemade stuff till it runs out, then I'll make the decision about whether or not to keep at it.  :o)

2.24.2012

for the love of turquoise


Recently I bought some blue and turquoise beads in order to make a bracelet for a friend.  I was loving the colors so much I ended up getting extras (good thing they were 50% off that week!).

What do you think?  The bracelet at the top is for my friend, the one in the middle is available for purchase in my Etsy store, and the one on the bottom I might save for a boutique auction on Facebook.  If I don't get tempted to keep them for myself.  :o)

2.04.2012

burlap earrings holder


I think I'm in love with this project.  Especially because it was essentially FREE.  I got the inspiration from a blog called Positively Splendid.  :o)

I started with a pretty framed mirror I found at Hobby Lobby over a year ago.  It hung above my dresser for awhile, but once we repainted that room I wanted something different.  I loved the look of the frame, but didn't really need the mirror part.  So I decided to make an earring holder out of it instead.


I removed the mirror and the backing (which involved loosening some very tiny screws, by the way), and then found some scrap burlap leftover from that Christmas tree skirt I made.  Taking the advice from the original tutorial, I cut the burlap a little bigger than the frame's opening and then ironed it with spray starch till it was nice and stiff.


Then I used my staple gun to carefully attach the burlap to the back of the frame, pulling tight as I went.  I was thankful that it had a wooden backing despite being a metal frame; otherwise I probably would have had to use hot glue instead.


Once I had it down nice and tight, I trimmed off the excess and that was that.


I decided not to add anything else since the frame's on the small side and is already pretty embellished on its own.  And since it coordinates wonderfully with other items in our master bedroom, I think I'll return it to the spot above my dresser; it'll hang right next to my other jewelry organizer so it makes sense.

The burlap is nice and stiff for holding earrings, and it's the perfect size for me since I don't wear that many dangly ones.  I do have a few more than just the two pictured, but that's about it.  Maybe now that they'll be hanging right in front of my face when I get ready in the morning, I'll be more likely to wear them.  :o)


Total cost:  Zero dollars. :o)

So what do you think??


Linked up to Creations by Kara and A Little Tipsy!

1.30.2012

"two of hearts" necklace

The other day I found a couple of heart charms at Hobby Lobby...they're really supposed to be part of a toggle clasp for bracelets, but I had another purpose for them.  You know those really cool necklaces that "fasten" in the front by interlocking the two ends with  pretty charms?  Turns out they're called "lariat" style necklaces, and after playing around with several inches of chain and a couple of jump rings, I think I figured it out.


{Sorry you have to see my freckles.  I really need to find a better model for my jewelry.  I'll let you know how that goes....}

I really like it.  I'll have to be on the lookout for other kinds of charms to use for this kind of thing.  In the meantime, if this doesn't sell on my facebook page I'm probably keeping it for myself. :o)

1.25.2012

sunburst bracelet


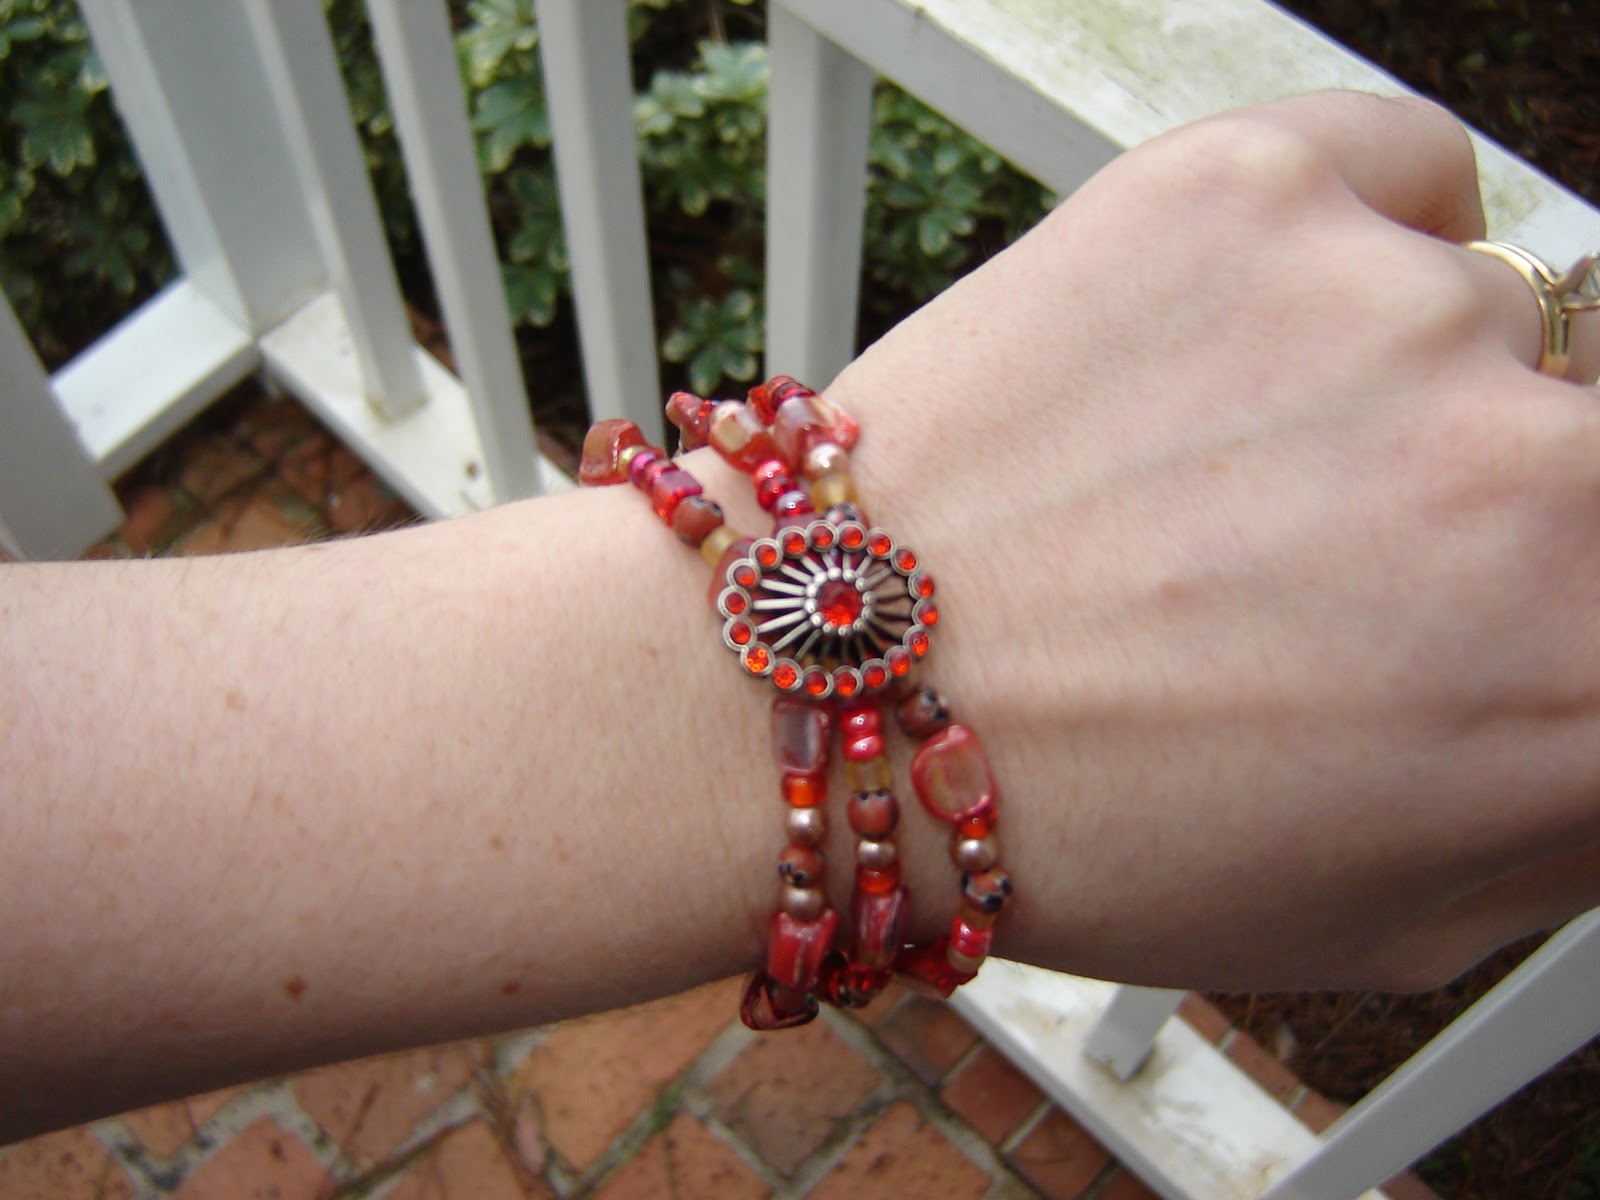
I've been experimenting more with jewelry-making lately.  This week I decided to take the plunge and go beyond my typical, single-stranded bracelet.  I found a beautiful red and silver charm at Hobby Lobby....on clearance for 88 cents!  I liked that it had the hook in the back and not on top.  So all I did was round up all of my red beads (along with some neutral colors that coordinated well) and created this triple-stranded beauty.


It's technically for sale through my Facebook page, but I might keep it for myself if no one snatches it up (so far I've gotten a few requests for different colors though!).

Total cost:  88 cents since I had the other beads and hardware on hand.

Before this I also tried a double-stranded bracelet with some brown beads:


It ended up longer than the bracelets I normally make, but I still love it.  This one was "free" because I had everything on hand too.  Now if I could just figure out how to make earrings I'd be all set.  :o)

Linked up to Creations by Kara and A Little Tipsy!

12.13.2011

"bird nest" necklaces


Given that my son was still napping, I decided to make a couple more pendants to kind of improve my skills.  Can't decide if I like the "messy" look of the one on the left, or the "neat" look like the one on the right.  :o)

"peas in a pod" necklace


Today I decided to make myself something.  After spending a lot of time making things for others and for our home, I figured it was about time to give myself some love!

I keep seeing these cute bird's nest necklaces everywhere, where you use beads to represent your kids.  I wanted to use just two beads to represent the two babies we've lost to miscarriage, so I got a couple of beads out of my stash and got to it.  As I was starting the necklace, I realized that the shape of the pendant was more oval-shaped than circle-shaped (probably due to using just two stacked beads), so I thought, hey, let's go with it.  So glad I did because I love it!  The "peas in a pod" idea works just as well as the bird's nest, I think.  It was ridiculously easy and all I had to buy was the wire.  This is a good project for using leftover beads, which I always end up with after finishing a piece of jewelry.

Might make a few more to give away as gifts...let me know if you want one!  :o)

Linked up to Creations by Kara and A Little Tipsy!

7.15.2011

funk-busting jewelry

In a funk?  I sure am.  Seems all I've wanted to do lately is lay around and watch my kid play.  And with me, that much fatigue leads to depression.  Which leads to isolation.  Which means I haven't been very fun to be around, if I've even been around you at all.  Sorry about that, friends.

After confirming this week that a) I'm not pregnant, b) my body seems to be functioning normally, and c) this funk has caused me to gain back five or six pounds of the forty-eight that I worked so hard to lose, I decided to try to do something about it.

My friend April jump-started this resolution tonight when she convinced me to let her husband watch our kids so the two of us could go get pedicures together.  I have gotten one other pedi in my life, and that was the day before my wedding...four years ago.  And this time was just as much fun as the first.  Except when the guy was forced to charge me three extra bucks for removing the wicked callouses that I had acquired from all that walking I've done the last year and a half.  And I was fine with it, except the guy really didn't have to remark to his other nail buddy about my feet (and yes, even though he was speaking Chinese I know that's what he was talking about), just like he didn't have to show me the uh.....fruits of his labor, shall we say (let's just say I will never look at zesting a lemon the same way again...too eerily similar for me).

Now that I've sufficiently grossed you out, I'll actually show you Phase 2 of my funk-busting plan....which is to start being creative again.  Tonight, that meant jewelry making.  I started this a few years ago but hadn't done it in a while.  I don't know how to do anything fancy, just a single strand of beads is all.  My sister requested a couple of items for her birthday next week, but since I don't want her to see them if she checks my blog, I'll show you what I made for myself!


I love the black and turquoise together, and the wooden flower beads are favorites too.  Best of all, these beads were pretty large, so it took no time at all to string these bracelets together.  And Cathy, if you're reading this, I'm putting your stuff in the mail on Monday (sorry for the lateness!).

Maybe this weekend I'll start Phase 3....which is to start exercising again.  Those callouses aren't going to grow back by themselves...

3.24.2011

quick fix: hanging jewelry organizer


I'm very excited about this project, mostly because it cost me next to nothing and saved me from the daily headache of going through this ridiculous mess:


I share the top of my dresser with a TV, so the little usable space I have was getting really messy.  I had organizers for my necklaces and earrings, but they were overflowing and everything was always getting tangled up.  I decided enough was enough.

I was originally inspired by this idea, and set out to find a cheap bulletin board since I knew I already had several choices for fabric in my stash.  But then I found this beauty at Target and my plans changed.


I didn't even know they made "seagrass" bulletin boards, but our bedroom already has a lot of earth tones in it, so this would coordinate perfectly without having to be covered with fabric.  Plus I couldn't pass up the price.


The only thing I wasn't a fan of was the color of the frame.  I wanted it to be brown to match the rest of the room (plus the brand name was printed in bright, white letters on the bottom part of the frame so I wanted that gone too).  So I covered up the seagrass part with newspaper and masking tape and then spray-painted the frame brown.


I let it dry and removed the newspaper and tape.  Apparently I didn't tape the newspaper down as well as I thought, since the paint got through in some places.  But I forgave myself and figured that soon those spots would be covered up anyway.


I got the hubby to help me install the hanging hardware.  The frame had pre-drilled holes in it for the screws, but they were pretty small so he made them a little bigger and then the screws went right in.  I think he was happy to have an excuse to use his power drill.  :o)

I hung it up next to my dresser, and the jewelry hanging began today at naptime!  I decided to use a combination of upholstery tacks (because they're cheap yet not cheap-looking like plastic thumbtacks would be), and some pretty covered tacks I got on clearance at Hobby Lobby.


I staggered the hanging necklaces on the bottom since I knew they'd hang down the longest, and added the bracelets above.

As you can see, there's still plenty of room on the top for more stuff.  And by doing this, I found a few items I forgot I had!  I was also inspired by the few pieces I've made myself, so maybe I'll get back into that soon.

But perhaps best of all is my new dresser top.


My earrings are still in their organizer, but look at all the room I have!  I was able to add a few more items like that picture of my son, and a small bowl which is currently holding the leftover tacks for whenever I have a new piece of jewelry to hang.   I no longer feel quite as claustrophobic or frustrated trying to find a necklace or bracelet, and that whole area of our room just looks more put together now.  Yay.  :o)
Related Posts Plugin for WordPress, Blogger...