12.11.2012

merry chris-mix!

Yeah, it's been a month since my last blog post.  Sorry.  This time of year is just crazy!

My almost three-year-old is really getting into the whole Christmas thing.  Or as he says, "Chris-mix."  Next year I want to start an advent calendar or Jesse tree tradition with him, but for this year, I decided to try that felt Christmas tree that's been all over Pinterest.  Seemed easy enough; cut a big tree out of green felt, then cut out felt ornaments to match.  Only thing is, I still haven't gotten to the store to get Command strips, which I've been told not only hold the tree to the wall, but also come off easily without damaging the pant.  I tried something similar from Scotch (these poster sticky things), but sadly they didn't do the job.  Luckily my kid was excited enough about playing with it on the floor.


He started telling me what the different shapes were, as well as their colors.  He ended up carrying them two-by-two to the coffee table and lining them up.  Then when I told him it was time to clean up, he carried them back to the tree.  It was only after he was in bed when I noticed that he actually put them back on pretty well:

And don't laugh at my ornaments (especially that sad-looking star).  I really could have done better, but at the time I just didn't feel like investing more than fifteen minutes into this.  :o)

Things are slower in my Etsy shop lately, but that's fine by me.  I really like this time of year so in the end I decided it was better to just enjoy it with my family instead of being swamped with orders.  I still have some ready-to-ship reindeer shirts available but I don't think I'll be making any custom ones!

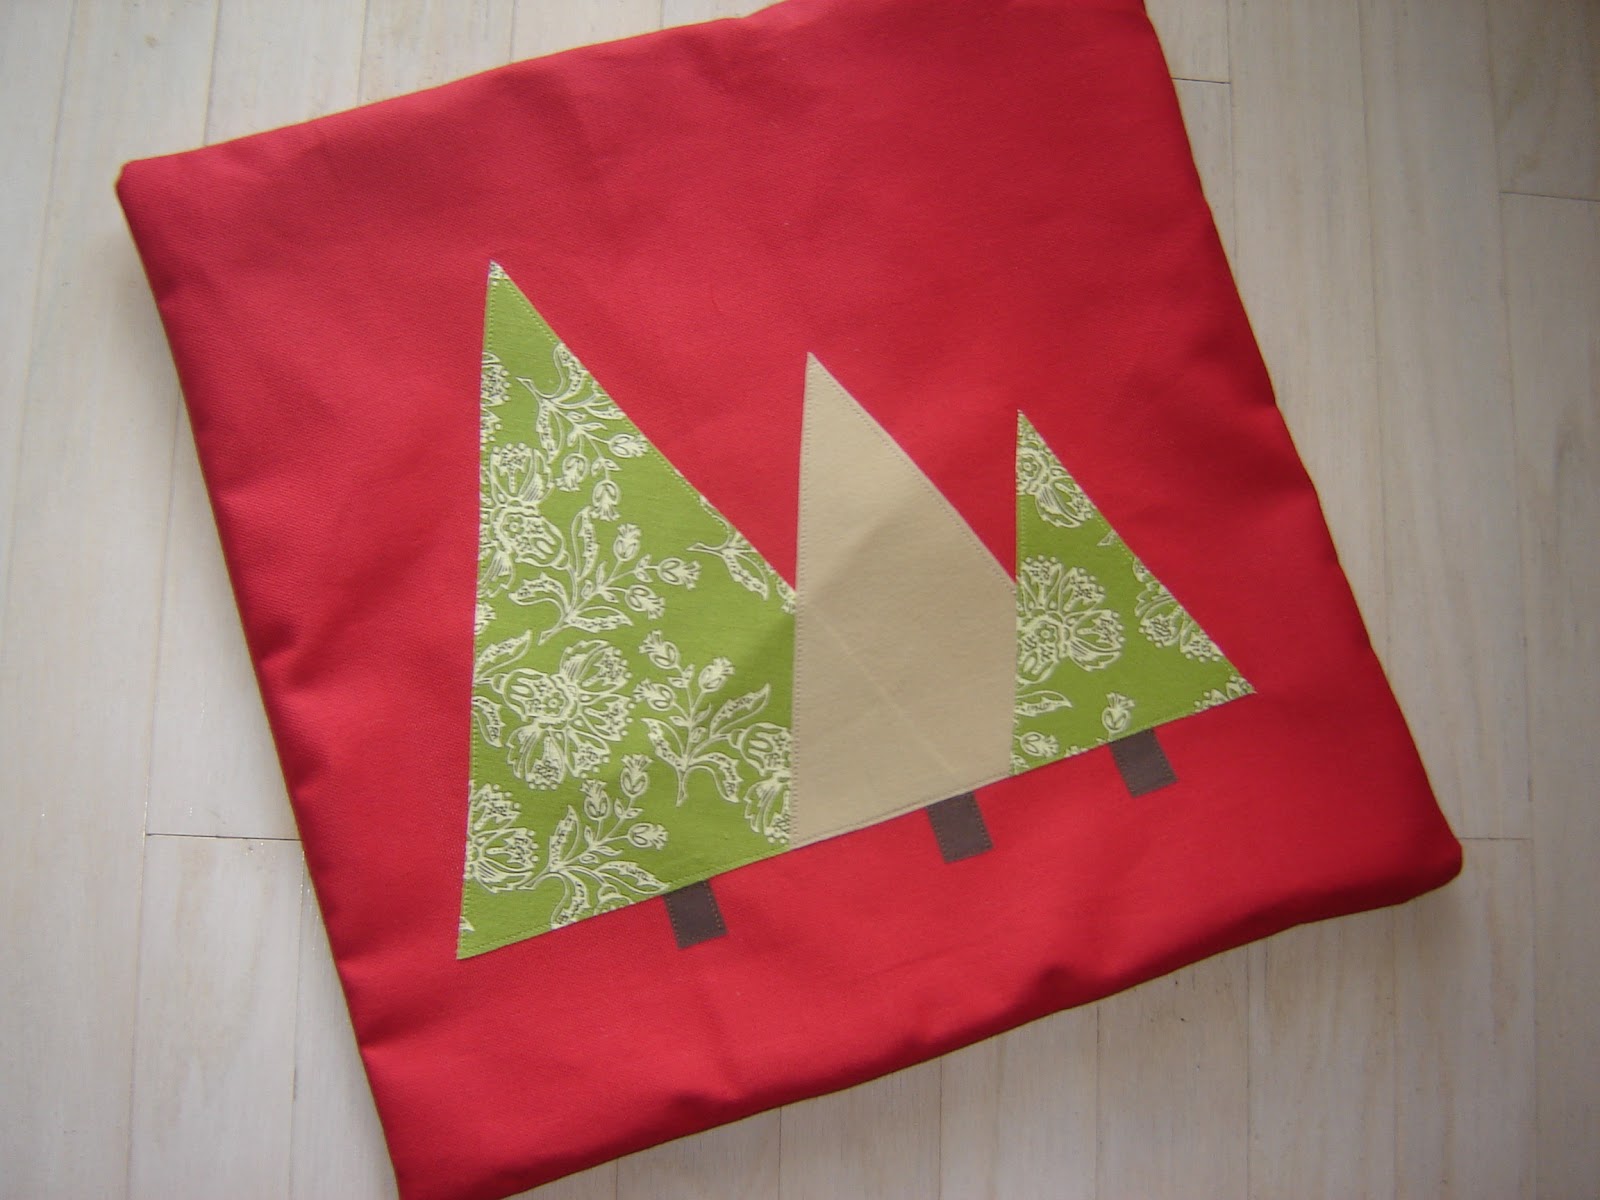
I also had the opportunity to make a custom tree pillow cover for an Etsy customer.  She liked the Christmas tree one I did (which incidentally sold last week!), but wanted it in red to match her guest room decor.  I was happy to oblige and I really like how it turned out!

And finally, I snagged a couple of Christmas placemats on sale at Kohl's a couple of weeks ago to make cheap and easy throw pillows.  I just ripped out a few inches of stitches, stuffed it, and then sewed it back up. I only had enough stuffing for one but I like it!


Might put a little more stuffing in the second one once I get to it.  I love the pop of the red and the holly leaves (which make it look like I put WAY more work into this pillow than I actually did!).  And my kid loves throwing it off the couch; I swear he must take the term THROW pillow literally.  :o)

11.09.2012

craft fair!

I have been working like a crazy woman this week to prep everything for a craft fair a friend and I are doing together tomorrow.  And amazingly enough, I was done packing the car barely an hour into naptime today!


I have 30 pre-made shirts and onesies (an assortment of Thanksgiving- and Christmas-themed, plus a couple of "stud muffin" onesies thrown in for good measure!), 6 "sample" shirts and onesies so I can display other designs I can offer, 4 nursing covers, 2 pillows, 4 vinyl pocket bibs, and 18 flannel burp cloth sets.  Whew!  Some of this is inventory from my Etsy shop, and some of it I made particularly for this fair.  Whatever doesn't sell this weekend I'll put in my Etsy shop so hopefully I can move it one way or another!  I also invested in a garment rack from Walmart...it was very reasonably priced and I love how it has wheels on it.  My hubby put it together last night in about five minutes.  :o)

Once I was done packing the car, I decided to try out a new design I've had in my head for awhile. 


I am thrilled with how it turned out!  I'm going to take it along with me to the craft fair; I'm hoping displaying this sample along with a football onesie and a baseball onesie will help catch the eye of prospective customers. :o)

At least this way I know I'll be prepared when March Madness comes around!  :o)

11.02.2012

pinspired: painting with kool-aid

This morning my son and I tried a new idea I keep seeing on Pinterest...painting with Kool-aid!!  We experimented with both name-brand and store-brand.  :o)


I eyeballed a couple of tablespoons' worth of each flavor in the muffin tin, then attempted to instruct my almost three-year-old on proper painting technique (in this case, it's recommended they first dip their paintbrush in water, then in the Kool-aid powder).


My kid tends to stick with one color at a time....and at the moment finger-painting is out.  He doesn't mind getting messy, but he prefers paintbrushes right now.  I painted with the other colors to see how they turned out.


After he saw that, there was no turning back.


He usually ends up messing with the water when he paints, so after awhile the colors got a little diluted.  I did notice that the store-brand flavors (lemonade and grape) were less vibrant then.  But the name-brand flavors (cherry and lemon-lime) stayed pretty bright.  So it might be worth investing the 20 cents a packet for name-brand (as opposed to 12 cents for store-brand!).


So what's the verdict?


I think he likes it!

Pros:  Cheap.  Easy.  Vibrant colors.  Smells AMAZING.  

Cons:  Some colors dilute easily.  Might stain skin and/or clothing (my kid didn't use his hands to paint, but did get some on his face.  None of it got on his clothes from what I can see so can't make a call about how washable the Kool-aid is).  Since it smells good, some kids might want to eat it (which isn't terrible, but you'd have to teach them that not all paint is edible!).

All in all, we both really liked this activity and will definitely do it again!

10.22.2012

thanksgiving shirts!

In a few weeks, a friend of mine and I are sharing a booth at a local craft fair.  I wanted to have some Thanksgiving shirts ready to sell there, since some people would rather just purchase one right then and there rather than ordering it to pick up later. 

One tricky thing is finding long-sleeved onesies and shirts that are good quality yet not expensive.  I was so excited to find long-sleeved shirts at Walmart this past week!  They're Garanimals brand so they're inexpensive but don't look it.  They're really easy to work with too.  I'm going to make ready-to-sell Thanksgiving and Christmas shirts out of them to sell at the fair, then whatever isn't snatched up, I'll sell as-is on Etsy.  I'm hesitant to offer them as custom orders on Etsy, only because I can't guarantee how long Walmart will have these long-sleeved shirts, or how well they'll stock the different sizes and colors!

Here's a design for toddler girls I put together:


I'm going to have these in a few sizes at the fair.  I'm also going to come up with a design for boys, as well as Christmas designs for both genders.

But on the Etsy front, I was able to complete another Thanksgiving onesie that will definitely be available for custom orders:


How cute would this be on a newborn??  I'm also going to offer this on brown shirts as well.

Who else is loving fall right now?  :o)

9.26.2012

more bracelets

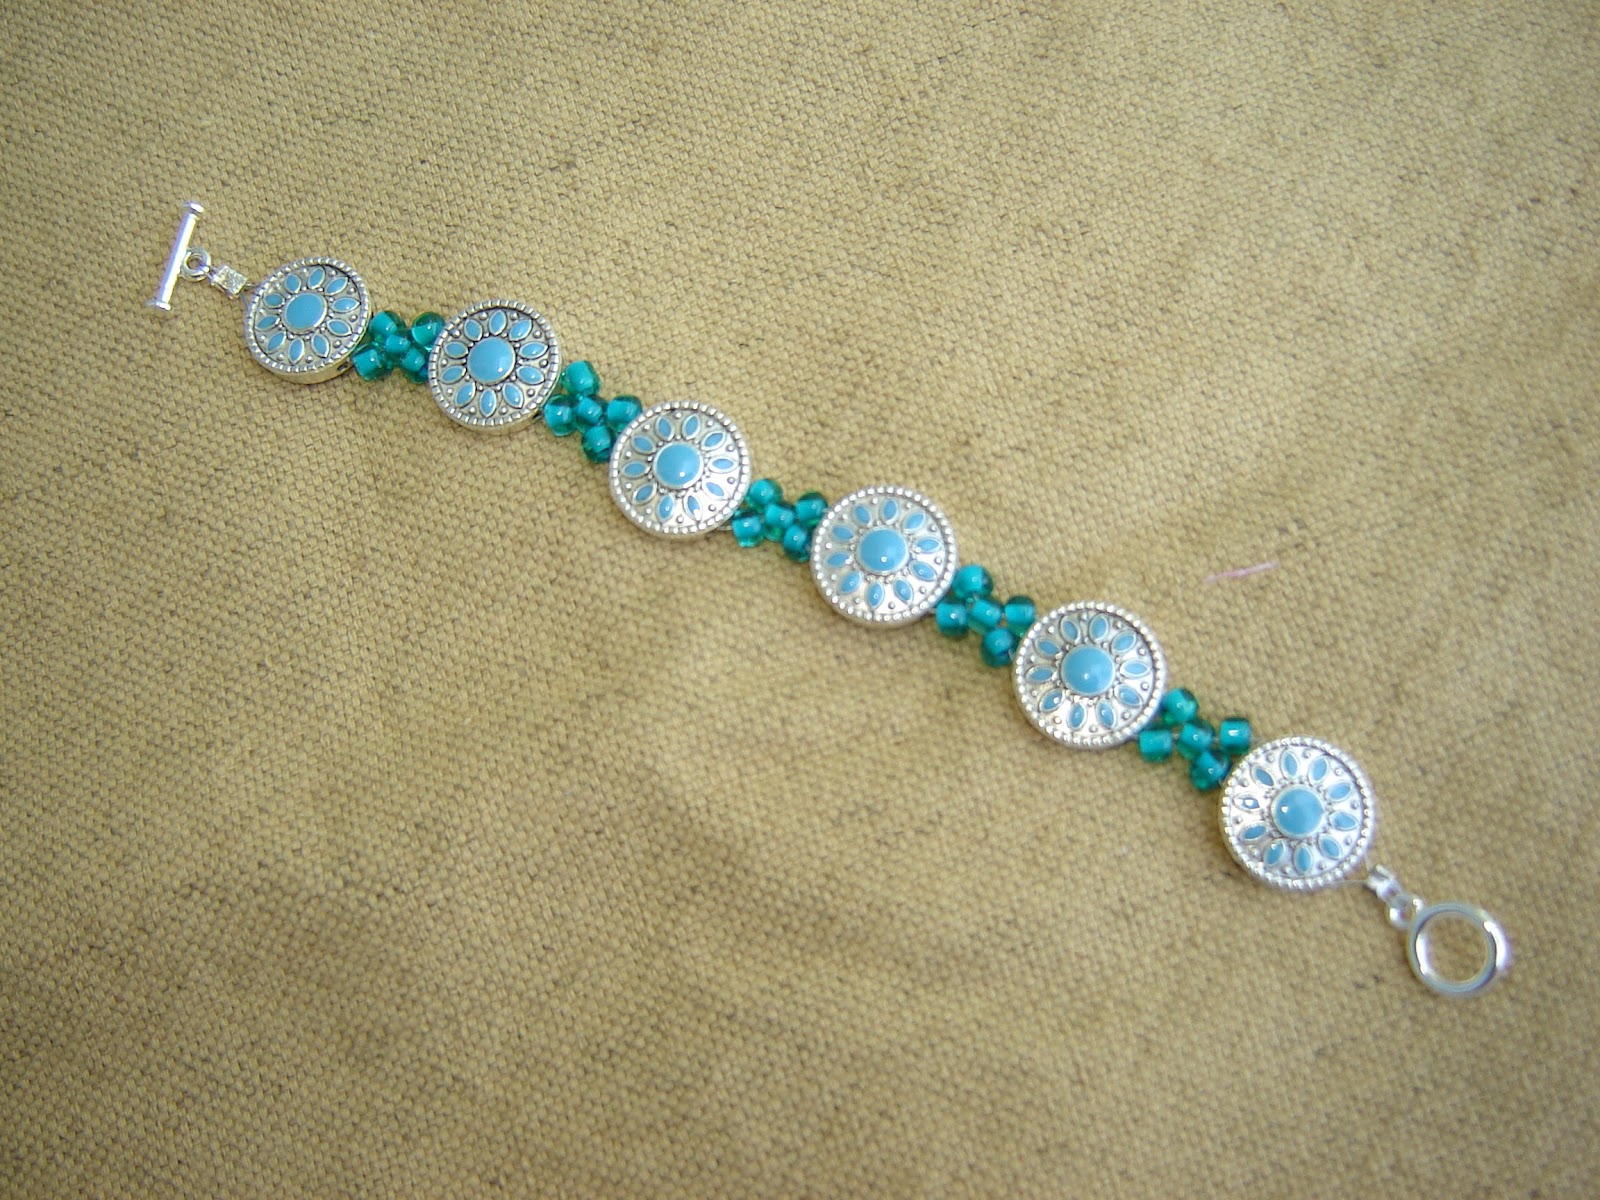
Last night I decided to work on more jewelry since I'm currently caught up on sewing projects.  I intended to start a couple of bracelets that my mom requested a few months back, but realized I didn't have the colors she wanted.  So I just used up some blue and green beads I had.


I was going to list them on Etsy, but I think I'll just keep them for now.  I've only sold a couple of jewelry items from my shop so I'm not sure they're all that popular online.  They might sell better in person so I could just try similar ones in the next craft show I do.  And in the meantime it's nice just making something for myself.  :o)

9.13.2012

ironing board cover {plus laundry room reveal}

My parents helped us paint the laundry room earlier in the summer, so this "reveal" is way overdue.  It just took longer than I thought to get everything the way I wanted.  The final touch was a new ironing board cover to pull everything together.


I found several tutorials on Pinterest, but they were all basically the same.  The most tedious part was threading the string through the final product.  And since I used the string and toggle clasp that came with my previous, worn-out cover, all I had to pay for was the fabric (which I got for 50% off...a long time ago).


Isn't it the cutest?  Definitely brightens the place up.


So here's the other DIY stuff I did (and let me just give you a warning...there are no windows in my laundry room and the only source of light is fluorescent, so these pictures aren't the greatest).


Here's the corner where the ironing and cleaning supplies hang.  The rack for my ironing board has a basket on top that holds the iron and spray starch.  Above the other rack is the upcycled laundry room sign I made awhile back.


And I still love it, crooked letters and all.  :o)


Next, the area we affectionately call "the stockpile."  Just some extra groceries and small appliances that we don't have room for in either the pantry or the cabinets.  The small yellow basket on top is where I throw cleaning rags, cloth napkins, and other dirty items.  And the white dishpan below is where I either soak stained clothes or (in this case) stash clothes waiting to be ironed.  You'd think with the new ironing board cover I'd be more motivated to take care of it.  Oops.  And to the left of all this is a big bucket of homemade laundry detergent.  I've been making my own for about nine months now and it's been working out great!


Next, my husband's grilling tools station.  Why?  Because the tools were too bulky to fit in our kitchen drawers and we didn't want to keep them out on the porch.  I found the rack at Goodwill several months ago and it works great for this.  I just can't figure out what to put in that little pocket on top.  :o)


Next, the other side.  Here's some embroidery hoop art I came up with.


I found the hoops and "check your pockets" hanging on Etsy, and I had the fabric on hand already.


Next, the area above the cabinets.  This used to be a dumping ground for a bunch of random stuff, but after we straightened out the storage room in our garage, we were able to transfer some of it out there.  I got the cute vintage fan on Etsy, the "love is patient" plaque at Target, and the watering can from Goodwill.  The storage bin is an old diaper box I recovered with part of a canvas dropcloth.  It looks like it's fully lined, but it's not; I cheated and just hot-glued hemmed fabric strips all around it.  It currently holds our 12-cup coffeemaker; I love my Keurig, but I bust out this older model for when we have people over.


Just have to show the cute rug I found at Ross last fall...really does wonders to take your attention off the ugly vinyl floor.


And finally, a cute grocery bag holder my mom made for me.  It's made out of the same turquoise fabric I used to fake-line the canvas bin in the picture above. 

Okay, so in case you were curious, that's what my "new" laundry room looks like.  :o)

9.12.2012

pinspired: sock bunny


I have a niece who's about to turn four, and when I asked my sister for gift ideas, she suggested a bunny stuffed animal (something my niece has been asking for repeatedly).  The idea of trying something new appealed to me; as much as I enjoy making all those appliqued shirts and onesies on Etsy, sometimes you just need a new project to break up the monotony.

So I searched on Pinterest and found this tutorial from Lil Blue Boo.  All it takes is a pair of adult knee-high socks, some stuffing, and spare buttons and thread (obviously, you leave off the buttons if making for a baby or young toddler).  I liked that she had pictures for every step too.  Target has really cute knee socks for $2.50 a pair, so I found a purple striped pair for the bunny.


So how'd I do?  Is it cuddly or scary?  :o)  Turns out it's kind of difficult to put stuffing inside of sock material since it stretches so much.  And since my button-sewing skills are horrendous, this is what I have for this little guy's face:


I got a bunch of retro buttons from my mother-in-law when she was cleaning out some of her old sewing supplies; I think the flower-shaped button for the nose makes up for the fact that the bunny technically doesn't have an actual mouth.  As horrendous as my button-sewing skills are, my embroidery skills are even worse, and after all the work I put into the bunny, I didn't want to wreck it at the last step.  :o)

Since I did all the work while Caleb was sleeping, he saw it for the first time today when I took pictures of it...and unfortunately he thought it was for him.


Yep, that's him giving it a kiss.  Sigh.  We took a trip to the hallway where his cousins' pictures are hanging, I pointed to the picture of the birthday girl, and told him repeatedly it was for her and that we were going to mail it to her as soon as I found a box or something.  I offered to make him one too, but you know how much in the here and now toddlers are.  So he's a little sad right now.  But I guess he has to learn that not everything I make is for him!

Speaking of which, I have one project in the works that's for me.  I finally started that ironing board cover...two weeks ago.  But life and Etsy got in the way so it's still folded up in the closet, all pinned up and waiting.  I just need to sew the edges and figure out how to feed the string through, and then hopefully it'll be ready and I can get rid of my yucky old cover.  I've decided I have to make a point to still try sewing and other DIY projects for me once in awhile, since if I just do Etsy stuff for long periods of time I get crabby.  :o)  Thanks for reading!!!
Related Posts Plugin for WordPress, Blogger...